After spending some more time working with the pump and doing the obligatory "boiling water" routine for the kids, it was time to get serious and see how tight the machine really was. I did a thirty minute pump down, took note of the final reading and shut the valves off and then turned off the motor. At first, I checked the gauge every hour and was relieved to see the pressure holding steady. Twenty four hours later I was happy to see an absolute pressure rise of only 1-2mbars (the gauge was bouncing between the two).
That is a GREAT number and removes a huge variable for a successful reason infusion!
Documentation from VacMobiles shows a pressure rise of 3mbar in 10 minutes is acceptable for small, or critical parts and large parts call for 3mbar/minute maximum.
...now if I just had something to infuse...
Sunday, February 3, 2013
Friday, February 1, 2013
Loose Gland
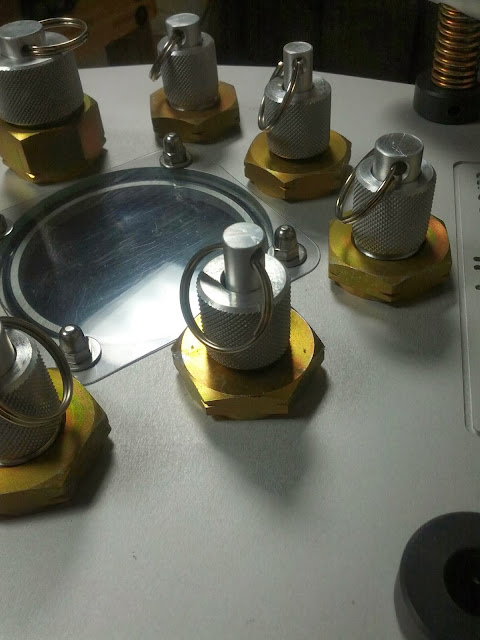
I was taking a closer look at the bottom side of the lid when I noticed one of the gland fittings was slightly loose. A little tweak with the wrench was good for another 5mbars! :-)

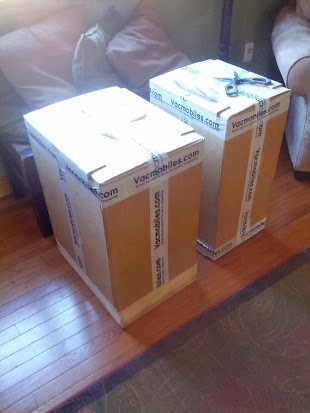
VacMobile Arrived!


.jpg)


How Awesome! What kind of world do we live in today where an item can be purchased by a common person from someone else on the other side of the planet and have it show up on their doorstep just shy of 65 hours later! (Even going through customs)
VacMobiles and FedEX - what a great combination!
As for the VacMobile Modular 2S... what can I say. Expensive, but worth it!
Very high quality components. Thick steel hardware, Solid aluminum lid, great connectors and fantastic packaging.
I did have a small problem with the air intake filter assembly and gland nut falling off during shipping. I guess the unit fell over at some point? Evidently, the O-ring packing fell out of the gland nut assembly resulting in a leak at that point. Once I figured that out, I put a new O-ring in there from the spare parts kit and it easily and quickly pulled down to 18mbar (Spec for pump is 20mbar).
In one of the pictures above, you will see a couple tubing loops made for testing. They were set up in no time and allowed me the opportunity to put a pin prick into one of the hoses to check out the VPE Ultrasonic Leak Detector. The leak was easily found and a piece of tape "fixed" the problem.
Next up is more tools, parts & planning...
Subscribe to:
Posts (Atom)