Saturday, April 27, 2013

First Infusion - Success, Failure & Lessons Learned

First ever infusion yesterday!
Overall, I think it was a success despite a failed part. The goal of this first test was to get a feel for working with all these components and get an accurate thickness plate for compressed 18oz fabric.

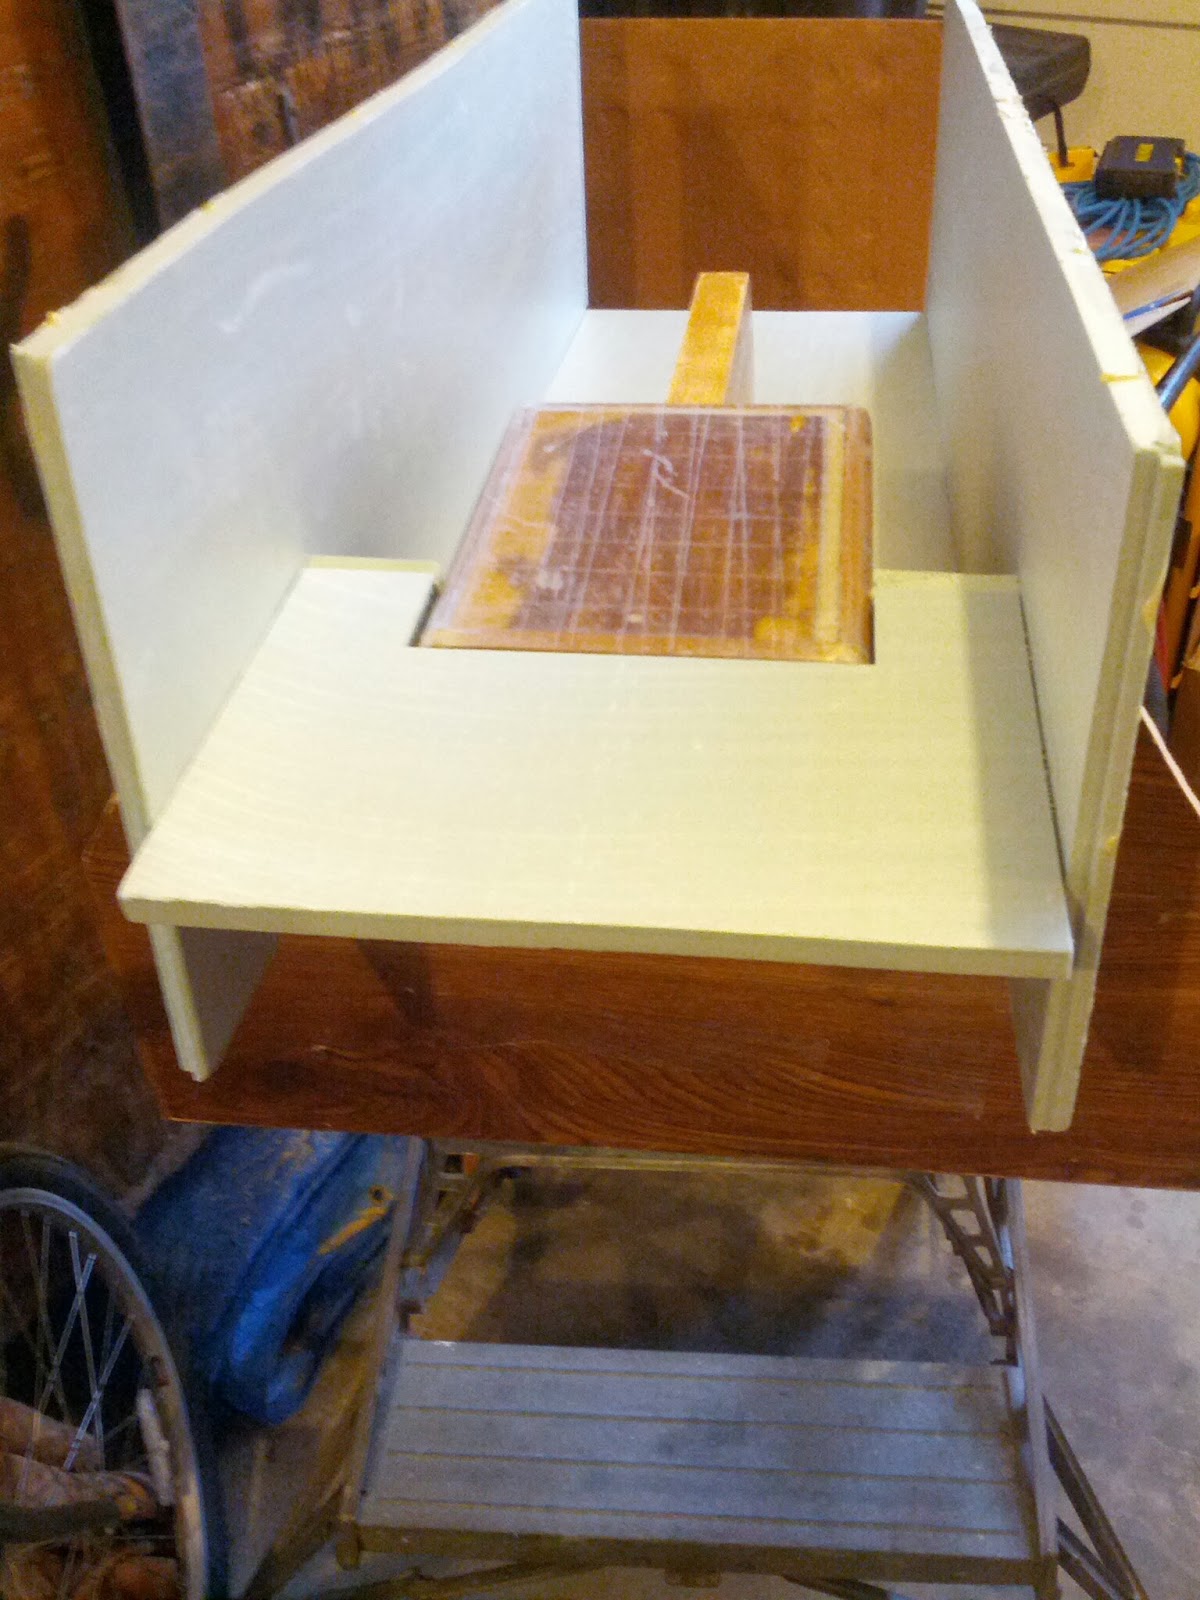
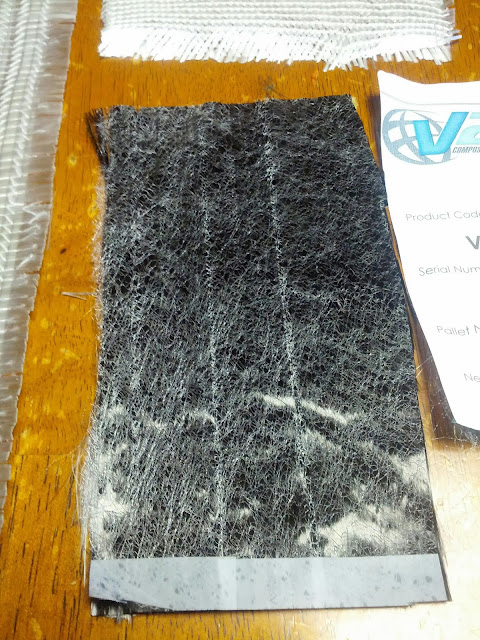
I cut a 75x10mm piece of 18oz 0/90 and then added an additional 18 layers of fabric on top of it in a stair-stepped fashion. Over that went the Peel-Ply and then the Perforated film. After that, the Resin Distribution Media and finally the Vacuum bag. The work was laid up on a piece of waxed glass.

Fabric Cut and laid up
Perforated Film over Peel Ply


Vacuum pulled

Drop Test
I pulled the vacuum down to 50mbar to do the drop test. I was losing vacuum pretty quickly and quickly found the problem to be the tapped barb fittings located on the PVC vacuum canister I built earlier. A seal of tacky tape around the base of the fittings solved that problem and that was it for the leaks found. So far, so good!

After this, I pulled the Vacuum down to 15mbar for the infusion and proceeded to open up the Resin supply. I was surprised at the speed of the resin front through the part and failed to slow it down adequately, so I'll have to work on a better solution for that.

Total Infusion time was about 3.5minutes.

It looked perfect from the top and I was as happy as could be!
However, the next day I flipped the part and saw the failure:
Large un-infused area

Un-Infused area
I sat around for a while looking at the part, feeling pretty down about the whole thing when I saw my error. As it turns out, I had installed the Resin Distribution Media past the side edges of the part. I believe what happened is the resin infused through the fabric until the thickness became so great that it simply became easier to flow through the Distribution Media on the sides of the part rather than pushing through 19 layers of glass. If I had seen this, it is possible the problem might have resolved itself by letting the resin continue to run instead of cutting it off when it hit the resin break.? Also, if you look closely there are several resin starved areas throughout the part. I believe this is due to the resin speed being too fast.

I have another few tests planned, but I need to get some decent scissors before trying again!

As for all the materials and equipment used, I think they performed flawlessly - from the pump to the leak detection to the tacky tape, fabrics, resin & vacuum bag. This failure was purely operator error and inexperience.

I did get the thickness measurements I was after and now I have a cool memento to hang on the wall!

We'll see how it goes next time...

Saturday, April 20, 2013

What to do when Epoxy is curing?

Arrange samples received for a photo shoot, that's what!


AirTech sent me a great sample supply.
I was so happy when I heard the delivery truck pull up!!

  • GreenFlow 75   (Resin Distribution Media)  (3 yards)
  • Yellow Tacky Tape   (3 Rolls)
  • EconoPly E   (Peel Ply)   (1 yard)
  • EconoLease   (Silicon Treated Peel Ply for release)   (1 yard)
  • EconoWeave   (Bleeder/Breather)   (1 yard)
  • Ipplon   (Bagging film)   (54"x10')
  • Securelon Big-Blue L100   (Bagging Film)   (1 yard)
  • WL3700 Perforated Film   (60"x10')

I should have enough materials to do at least three infusions. They also sent a HUGE catalog with all their product offerings! The packaging was first rate (like everything else I've received so far) and arrived within a week.

Customer Service was great!
I worked with:
     Jason Laughlin, Account Manager
     jlaughlin@airtechintl.com
     (714) 899-8100 (work)

=====================================

My Epoxy order got messed up, I called Endurance again to get a status and was told they had to check with the lab on when it would be ready. I didn't receive a call back, so I'll be checking with them again on Monday. No huge rush though, since I'm still working on the Beam model.

Speaking of which, progress photo's below.
Before installing the foam pieces, I coated the outsides with two layers of epoxy to better ensure an airtight seal. I think that'll work, but time will tell.
Angled foam inserts on sides of Beam Recess Mold


Then I added a foam section at the rear to serve as an infusion flange.


Now I'm just working on the Epoxy fillets. I definitely learned that I will need at least a Tyvek apron and some sleeves. Not to mention a longer stick to smooth out the fillets. It's actually going quite well, but I can see the potential for a really big mess if things got carried away. The crazy thing with epoxy is that one tiny little smudge on your skin quickly transfers to everything else it touches as an even larger sticky spot... like some sort of multiplying affect! It doesn't seem possible, yet it happens - must be magic.

Tuesday, April 16, 2013

Vacuum Canisters & Flow Control

I built a few Vacuum Canisters that still need to be leak checked.
Since they are sealed at both ends (disposable), I weighed and marked the Empty and Full weights as reference.

The larger one will go between the part and the VacMobile while the small one(s) will be inserted into the reverse pull line.


The Reverse Pull line is referred to as the "Supplementary Vacuum Line" in the VacMobile Diagram:

I also found these small pinch clamps over at Amazon.com


They won't completely pinch off the resin intake line, but they will do a great job at throttling the flow.

Tuesday, April 2, 2013

Epoxy Distributor

I did locate an Epoxy Distributor a while back but failed to mention it earlier:


Endurance Technologies, Inc.
275 Bridge Point Dr.
South Saint Paul, MN  55075
Phone: (800) 755-8568
FAX: (651) 451-9728

www.epoxi.com

See PDF (near bottom) for more information.

The specs listed are the best I've come across so far, but I do wish the Gel Time was a bit longer.
Different formulations are available, but the strength numbers start dropping pretty fast when you lengthen the cure time. The company is eight hours away, so if I ever order a large amount I could probably save some money by picking it up myself..? They will sell direct to the end user and they do offer a custom formulation service if you need something special.

I'm looking at the 2110/9218 System for Infusions:


And the 4227A-9226B Hand Lay-Up Laminating System for fillets, fill coat & etc.

I haven't ordered a small batch to test with yet.

Fabric Samples from V2 Composites

I've been doing a lot of research to find a company to provide the fabric materials for the build.
Yesterday, I received a very generous sample pack from V2 composites

One yard each:
  • 12oz (45/45)
  • 12oz (0/90)
  • 18oz (0/90)
  • 18oz Kevlar (0/90)
  • 18oz Kevlar/Glass (0/90)
  • 9oz Carbon Uni (V-Web construction)

They all looked very good with a nice smooth finish and very even stitching.
18oz Bi-Directional (0/90)
18oz Double-Bias (45/45)
9oz Carbon Uni (0)
The Carbon Uni is interesting as it is available in two formats; the traditional stitched tow and the "V-web" layout shown above where the fibers are sandwiched between and lightly glued to a very thin veil webbing. The "V-web" is advertised as being easier to handle, but I'll probably be going with the traditional stitched fabric for the boat.

What really interested me about V2 Composites is the welded stitch construction of their fabrics. Some other samples I received tended to fall apart very easily after being cut and handled due to the slippery glass fiber bundles. The pictures above show some samples after being cut with a lousy pair of scissors, shaken out, inspected and passed around for all to see. They held together really well. I tried cutting a 50x50mm piece of Kevlar, but my scissors were not up to the job and just butchered the material. However, what was left over still mostly held together - which was very impressive! 

Excerpt from V2 News page:
 “We closely examined our markets, searching for specific areas of product weakness. One of the recurring concerns for customers of composite reinforcements has been the instability of the stitch matrix that holds the reinforcement fibers in place. Existing warp/weft knit stitching technology was just not adequate for holding the fabric matrix together when cut into complex shapes.”
Horne explains, “During fabric/resin lay-up, when a stitch line is disturbed or fractured by a roller or brush, the stitch yarn can become caught and may very easily run out of the fabric.” This problem is similarly observed in woven fabrics, which tend to fall apart at the edges when cut into complex shapes. Horne continues, “The problem has been frequently reported and is very annoying to customers. You can imagine laminate workers trying to cut these yarns or strings (as they are called) with resin-gummed scissors. It’s a harrowing chore.”
The industry’s move towards computerized cutting tables, in order to save time and maximize pattern lay-ups, is accelerating the demand for fabrics that cut more cleanly, and which hold their edge without tangling up around the cutting head.
V2 is addressing this problem with its unique V-Lock™ non-run stitch technology. According to Horne, the V-Lock process welds the ascending stitches together on the loop side of the fabric only. The stitch medium remains polyester (as opposed to low-melt vinyl ester sheathing, etc.), therefore eliminating contamination or off-gassing during the lamination/cross-linking process.
V-Lock technology also makes it possible for fabrics to be bonded using a looser stitch. According to Horne, “Over-tension in stitching can restrict resin flow through and along the reinforcement fibers, forcing fibers to lay flatter in a lower profile and thereby increasing fiber volume fraction.”
Kevin Horne, president and CEO of V2 Composites, Inc. reports, “These high-performance reinforcement fabrics don’t unravel. The added value for customers is significant in terms of reduced waste and improved longevity of their pre-cut dry reinforcement materials.”
The V-Lock system is proprietary and involves precise thermal coupling management technology. According to Horne, the process takes place as the fabric is manufactured so that no secondary handling is required.
Horne concludes, “V-Lock technology is taking composite reinforcement fabrics to a higher level of performance. That’s good news for an industry that is aggressively pursuing value-added solutions for infrastructure, construction, heavy-duty transportation, sports and recreation, aerospace, automotive, marine, and other commercial applications.”

V2 was very responsive to email and telephone inquiries, they were efficient at sending out samples and best of all they will do direct sales! I received price quotes, but chose not to publish here. I worked with:

   Dave Maas
   Business Development
   Office: 704.806.1539
   dmaas@V2composites.com

Now for a supplier of foam...